
https://minecraft.novaskin.me
以下開始是繪製方面自己摸的
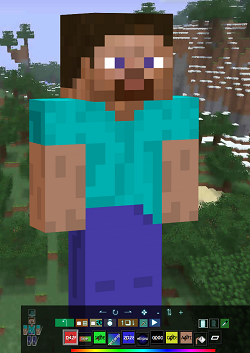
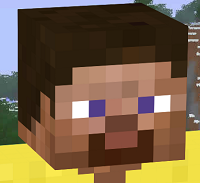
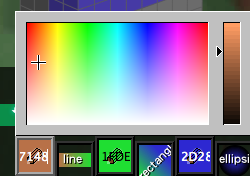
首先一開始進入畫面會出現這個經典的...
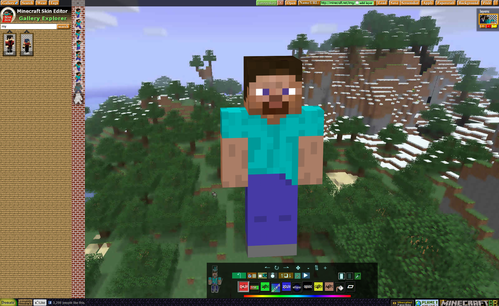
▼新版本改為在網頁的上方顯示

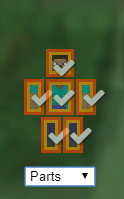
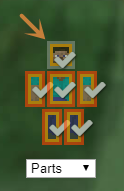
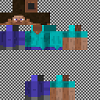
分為頭部、身體、左手、右手、左腳、右腳,六個區域。
每個區域又各有外層區域
頭部外層區域可繪製 髮型、瀏海、帽子、面具
身體外層區域可繪製 外套、背心、網格衣
手腳外層區域可繪製 衣褲的更多細節造型
注意:如果要繪製本體就必須把外層區域關閉
例如:
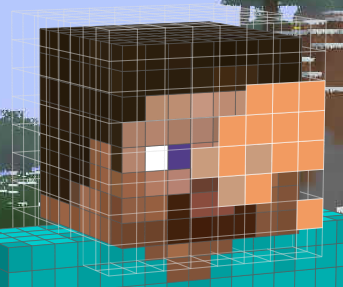
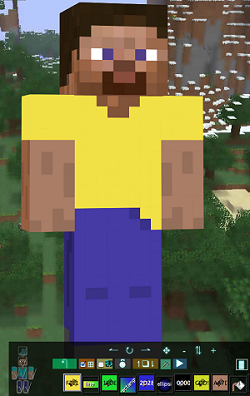
一開始預設開著頭部外層區域的樣子
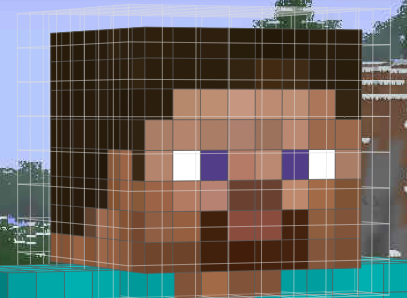
這時候畫下去就會悲劇了...o_O
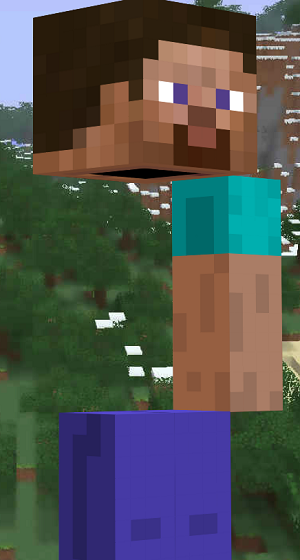
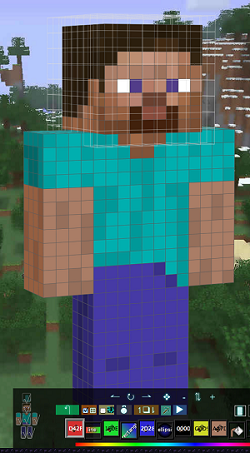
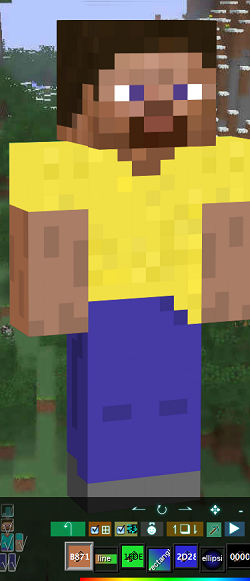
隱藏頭部外層區域後,外面那層格線就消失囉~
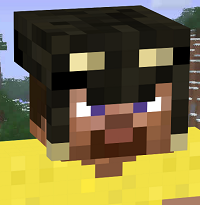
關閉本體區域能繪製造型內部死角
獵奇了(?)
※注意:有繪製的部份關掉肢體不代表不存在最後輸出還是會出現,要小心。


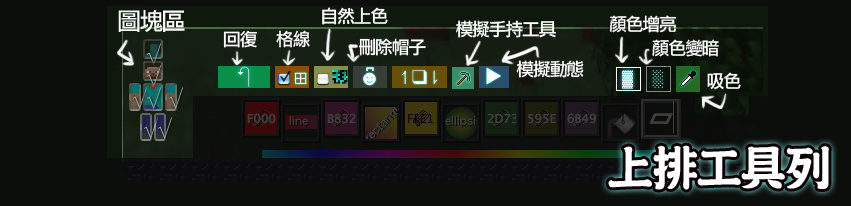
顧名思義就是來給你「回復」用的。
但是也不要太常使用會常常當掉喔


預設就會開著了~
如果你覺得會影響作畫可以把他關掉


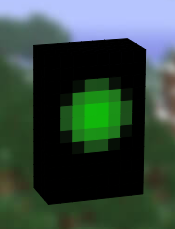
這個長得像苦力怕的東西(?)
我個人很喜歡用XD他可以自動幫你抓你選的那個顏色相近的自然隨機色,上色時隨機出色 看起來會比較自然。
同樣選擇

▼沒有使用
▼有使用


製作好頭部的帽子後不滿意可以使用這個直接移除
按下移除
如果是不小心按到的話


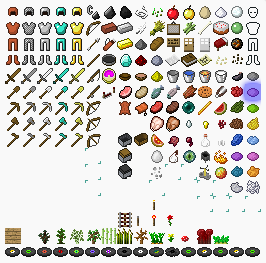
更新後置於左列表上方POSE
可以模擬手持遊戲內的工具或物品
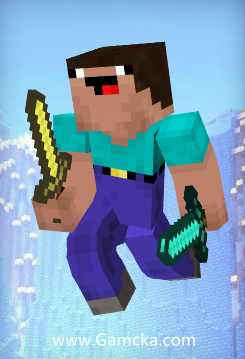


( 他右手怎麼那麼好動 :LOL:
當選則一種顏色時,除了按開他在色版右邊調明暗以外
也可以使用上排工具列右邊這兩個鈕,一直點擊他就會發現有變化摟~


顧名思義就是吸色摟,可以吸取你之前畫在上面的顏色,如果一時之間調不出來之前的顏色很好用。
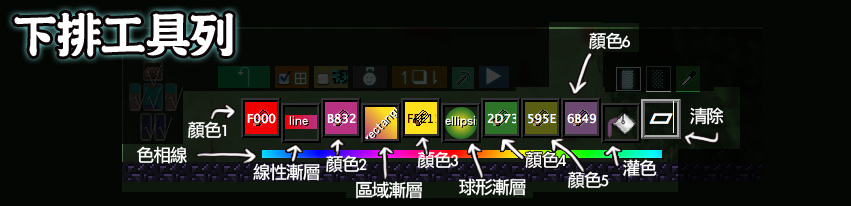
▼新版本文使用顏色範例圖

色相線

▼新版本改置於網頁右上角 (layers)
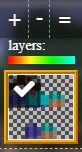
可以在上面滑動,製造色相變化的效果
接下來是比較複雜的部份,我將顏色分成6區使用,這個程式的顏色似乎有聯攜的功能(?),平常單單點顏色1~顏色6 都會是一個獨立單一的顏色,但是當使用任何漸層時!他會將漸層的左右當作是他的漸層選擇色。

可以按左鍵選色,或是直接雙擊顏色代碼直接更改。
下推
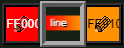
由「顏色1」與「顏色2」決定色彩
只能拉出直的漸層線條
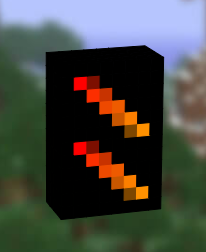
起頭為「顏色1」收尾「顏色2」
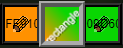
由「顏色2」與「顏色3」決定色彩
區域的漸層,只要按著左鍵拖拉即可
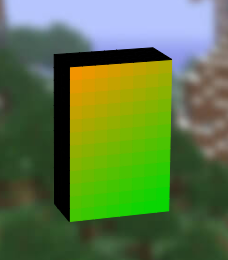
起頭為「顏色2」收尾「顏色3」
由「顏色3」與「顏色4」決定色彩
球狀的漸層
中心為「顏色3」邊緣為「顏色4」
「顏色5」是目前我發現裡面唯一不會影響任何漸層的顏色。(可以參考上面工具名稱圖)

由「顏色6」決定色彩


如果快速點擊右鍵兩下,就會將「整面顏色」連根清除喔!
有的時候會把你要擦掉的部份連根清除喔030
很刺激(?
破洞了!不過不用緊張~再填色上去就行囉 :D
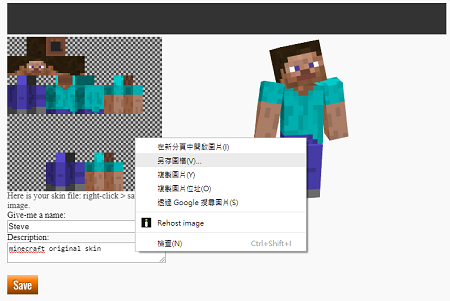
接下來就是保存skin圖檔
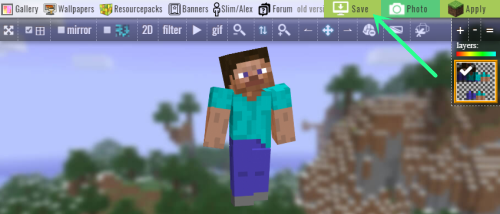
對Skin圖檔
原文網址 (By 丹の九 尾) _ 12, Mar 2012 17:09
https://foxkingdom.tian.yam.com/posts/48072494
更新修改文(By MakaSa)_ 27, Mar 2018 13:39
https://www.gamcka.com/post/191
最後編輯:
